How to Print DIVs with JavaScript
Web development often presents us with varied tasks, one such is printing specific sections of a webpage. This can be easily achieved using JavaScript by targeting particular ‘div’ elements. But the question is, how exactly do you do it?
Well, you and I are going to embark on a journey of coding exploration together. We’ll unravel the simple yet effective ways to print ‘div’ elements with JavaScript. By the end, you’ll be equipped with a powerful skill in your web development arsenal.
In this post, we will be looking at the following 3 ways to print DIVs with JavaScript:
- By using document.write() method
- By using innerHTML property
- By using document.createElement() method
Let’s explore each…
#1 – By using document.write() method
Sure. Here’s how you could present this information:
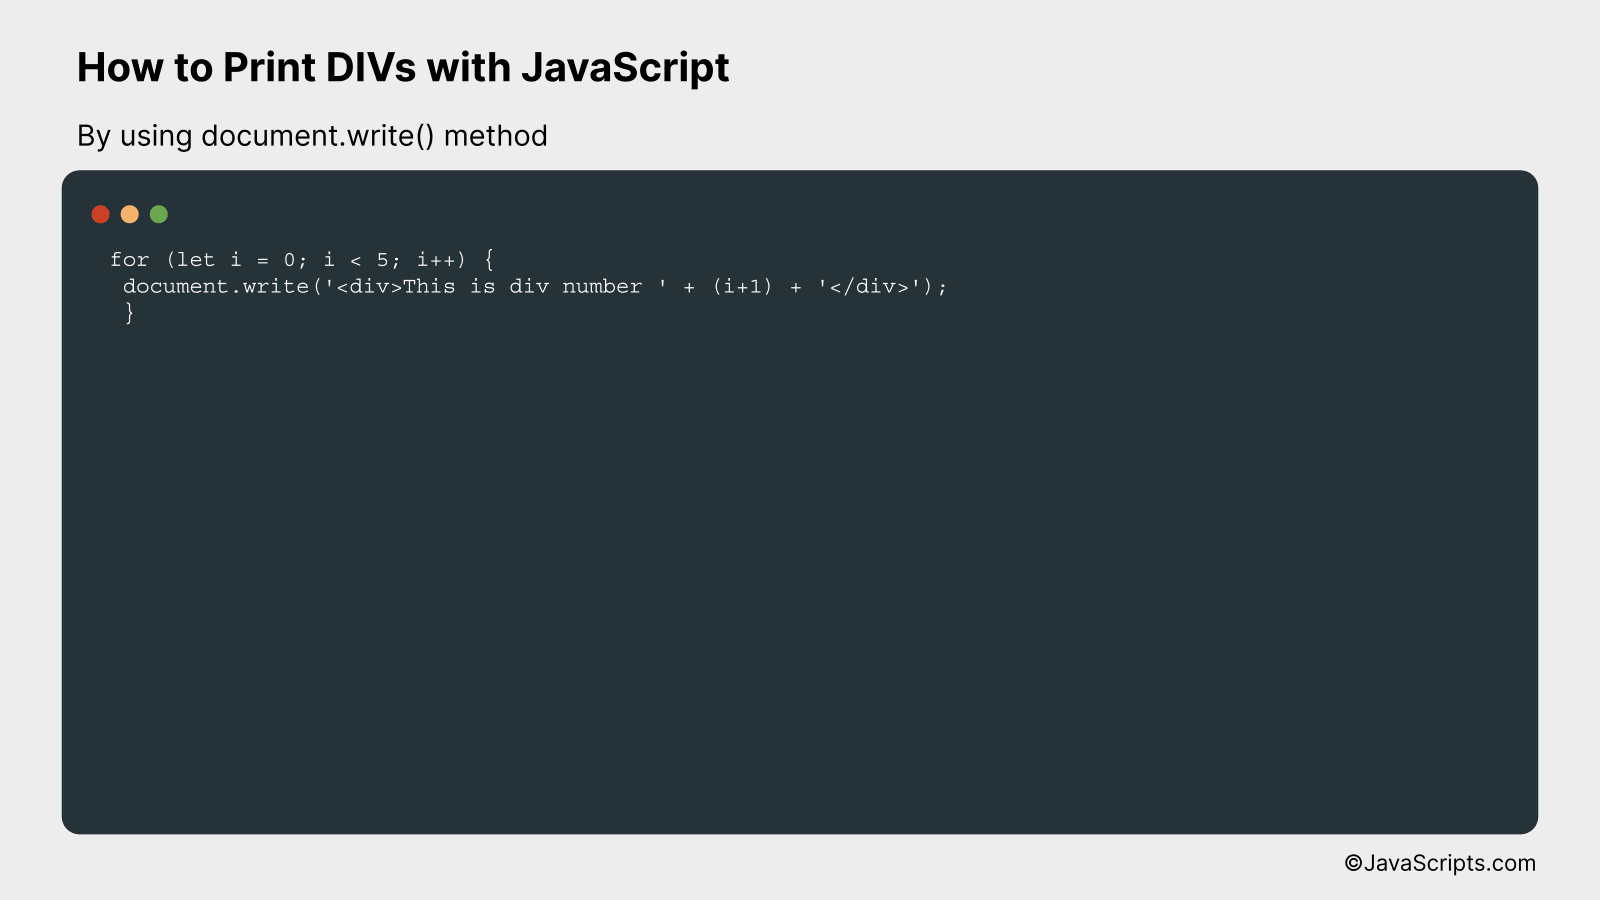
We will use the JavaScript ‘document.write()’ method to dynamically generate DIV elements on our webpage. This method allows us to write HTML expressions or JavaScript code to a document. Let’s understand it better by using an example:
 for (let i = 0; i < 5; i++) {
 document.write('<div>This is div number ' + (i+1) + '</div>');
 }
How it works
This script dynamically creates 5 div elements, with each containing a unique number from 1 to 5.
- First, we use a 'for' loop that runs from 0 to 4.
- In each loop iteration, the 'document.write()' method is called with a string parameter that creates a new div element.
- The 'i+1' expression inside the string ensures that each div has a unique number associated with it, starting from 1.
- The 'document.write()' method writes this string (which is interpreted as HTML) to the document, thus creating a new div each time it is called.
By using this approach, you can dynamically generate as many div elements as needed by adjusting the end condition of the 'for' loop.
#2 - By using innerHTML property
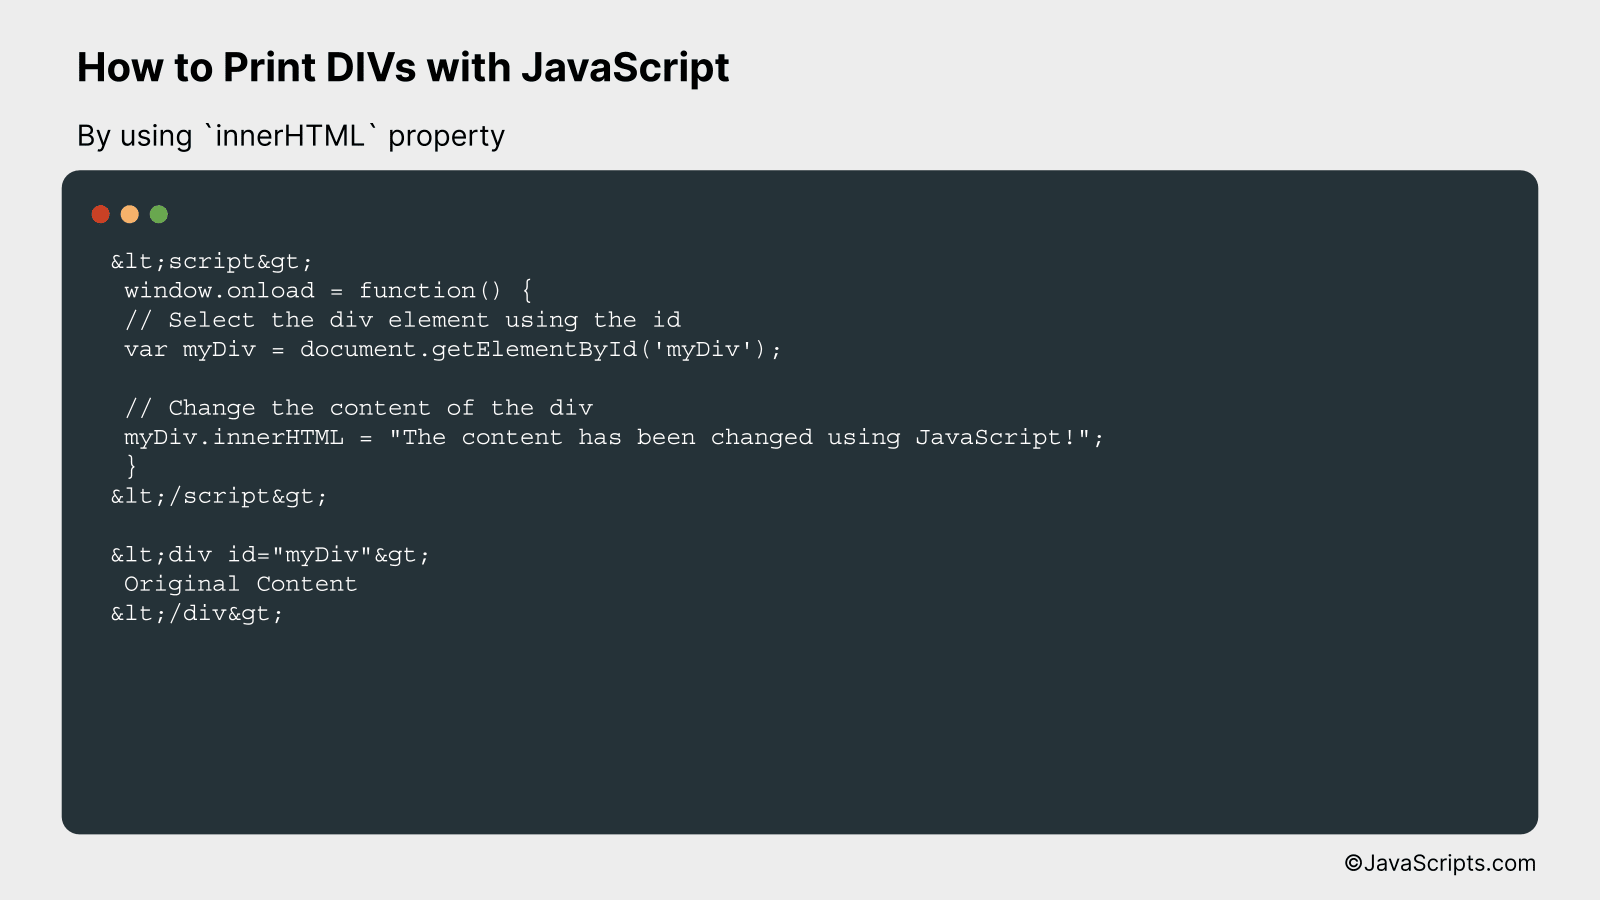
We will use JavaScript to manipulate the innerHTML property of a DIV element in the HTML document. This allows us to dynamically display content within this DIV. Let's understand it with a practical code sample.
// Script
 window.onload = function() {
 // Select the div element using the id
 var myDiv = document.getElementById('myDiv');

 // Change the content of the div
 myDiv.innerHTML = "The content has been changed using JavaScript!";
 }

<div id="myDiv">
 Original Content
</div>
How it works
When the page loads, the window.onload event is triggered, executing the script within this function. The script first selects the DIV with the id "myDiv", then changes its innerHTML property, effectively modifying the content of the selected DIV.
- First, the window.onload event is triggered as soon as the page finishes loading. This event is used to ensure that the HTML document is fully loaded before our script tries to make any changes.
- The line var myDiv = document.getElementById('myDiv'); selects the DIV with the id "myDiv". The document.getElementById function is a common method used in JavaScript for selecting elements based on their id.
- Next, myDiv.innerHTML = "The content has been changed using JavaScript!"; changes the innerHTML property of the selected DIV. The innerHTML property can be used to both retrieve and replace the HTML content within an element.
- As a result, the content of the DIV with id "myDiv" is changed from "Original Content" to "The content has been changed using JavaScript!"
#3 - By using document.createElement() method
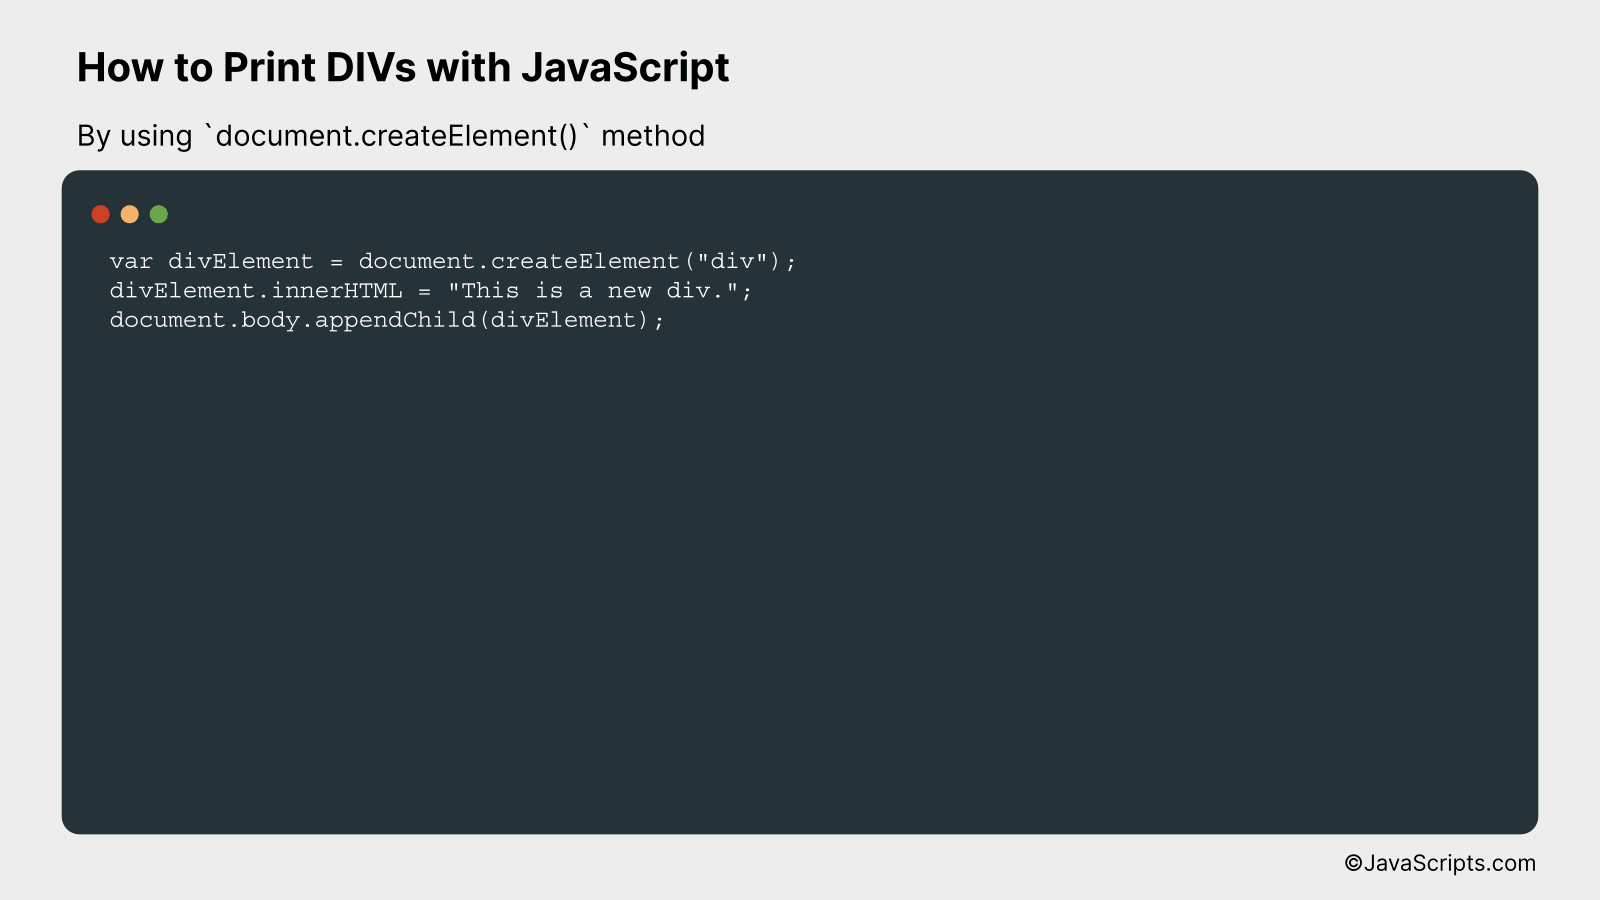
We will create and print DIV elements using JavaScript's document.createElement() method, which generates an HTML element that can be manipulated using JavaScript and inserted into the DOM. Find an example and a detailed explanation below.
var divElement = document.createElement("div");
divElement.innerHTML = "This is a new div.";
document.body.appendChild(divElement);
How it works
This JavaScript code creates a new DIV element, sets its inner HTML, and then appends it to the body of the document. Here's a step-by-step explanation:
- Step 1: We create a new div element using document.createElement("div") and store the created element in the divElement variable. This doesn't yet add it to the HTML document; it just creates it in memory.
- Step 2: We set the inner HTML of the divElement to be "This is a new div." using the innerHTML property. This defines what will be contained within the div tags.
- Step 3: We add the divElement to the end of the document body using document.body.appendChild(divElement). This makes the new div element appear on the webpage. If you want to insert it somewhere else, you would use insertBefore() or replace an existing element with replaceChild().
Related:
- How to Perform Reverse Shell in JavaScript
- How to Perform Merge Sort in JavaScript
- How to Pad Leading Zeros in JavaScript
In conclusion, JavaScript provides a simple yet powerful way to print specific DIV elements on a webpage, offering greater flexibility and precision. With the methods outlined, you can easily customize what sections of the page you wish to print, enhancing your web development skills.
Remember, practice is key in mastering JavaScript. Therefore, make sure to experiment with different DIV attributes and JavaScript functions. This way, you will better understand how to harness the full potential of JavaScript to meet your printing needs.