How to Set Sizes with JavaScript
JavaScript, the keystone of modern web development, offers a multitude of methods to manipulate an element’s dimensions. Have you ever wondered how to adjust sizes in JavaScript? You’re not alone.
By the end of this guide, you’ll feel more confident about setting sizes with JavaScript. Together, we’ll unravel the mystery behind functions like ‘offsetWidth’, ‘clientWidth’, and ‘style.width’. Let’s get started on this fascinating journey into JavaScript size manipulation.
In this post, we will be looking at the following 3 ways to set sizes with JavaScript:
- By using the style.height and style.width properties
- By using the offsetHeight and offsetWidth properties
- By using the clientHeight and clientWidth properties
Let’s explore each…
#1 – By using the style.height and style.width properties
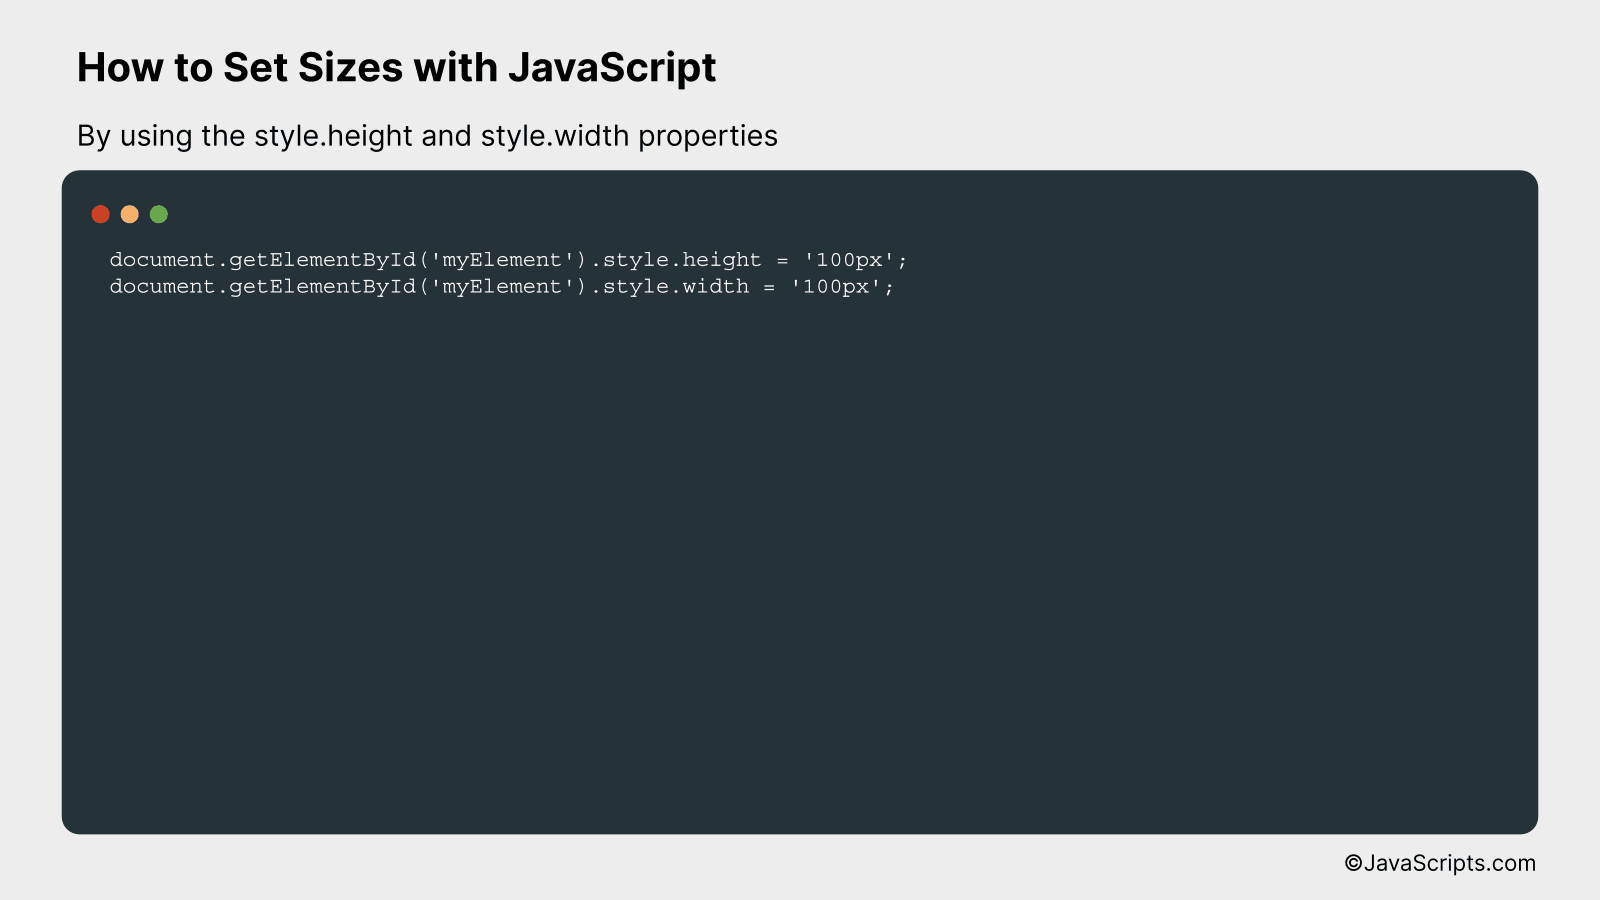
In JavaScript, you can manipulate the height and width of HTML elements by using the style.height and style.width properties. Here is a simple example where we change the size of a particular element by its ID.
document.getElementById('myElement').style.height = '100px';
document.getElementById('myElement').style.width = '100px';
How it works
This piece of code uses JavaScript to select an HTML element by its ID and then modifies its height and width through the style property, essentially modifying the CSS of the element on-the-fly.
- Firstly, document.getElementById(‘myElement’) is a method that finds the HTML element with the ID ‘myElement’. This ID should be unique per HTML document.
- After the element is selected, .style.height = ‘100px’ sets the height of the element to 100 pixels. Similarly, .style.width = ‘100px’ sets the width of the element to 100 pixels.
- The height and width are set in pixels, but you can use any CSS length units, such as percentages or ems.
- The changes take effect immediately and will be visible on the webpage. If you want the changes to be temporary, you would have to remove or change these styles later in the code.
#2 – By using the offsetHeight and offsetWidth properties
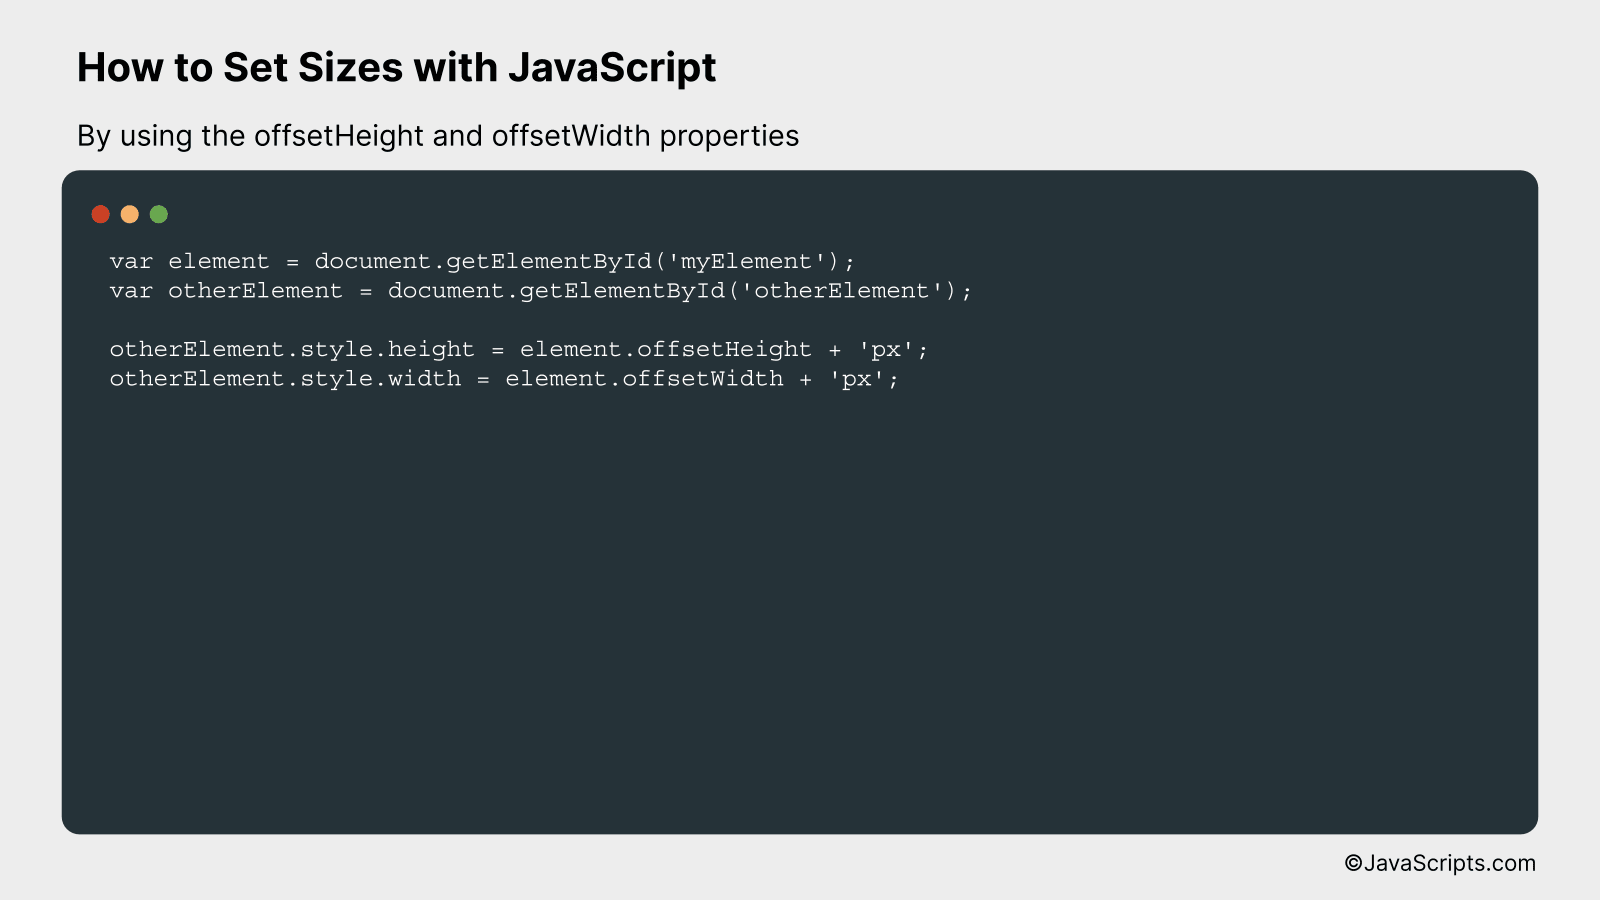
The offsetHeight and offsetWidth properties in JavaScript get the layout height and width in pixels of an element respectively, including padding, border, and scrollbar, if visible. This can be used to dynamically adjust the size of other elements based on these measurements. An example will make this clearer.
var element = document.getElementById('myElement');
var otherElement = document.getElementById('otherElement');

otherElement.style.height = element.offsetHeight + 'px';
otherElement.style.width = element.offsetWidth + 'px';
How it works
This script fetches the height and width of an element and assigns these values to another element, thereby setting its size dynamically based on the first element.
- First, the script retrieves the element with ID ‘myElement’ and stores it in the variable ‘element’.
- Second, it does the same thing with the element ‘otherElement’.
- Third, it sets the height of ‘otherElement’ equal to the offsetHeight of ‘element’. The ‘offsetHeight’ property provides the height of an element in pixels, including the padding, border, and scrollbar (if rendered).
- Lastly, it sets the width of ‘otherElement’ equal to the offsetWidth of ‘element’. The ‘offsetWidth’ property provides the width of an element in pixels, including the padding, border, and scrollbar (if rendered).
- The ‘px’ is appended to the value to satisfy CSS syntax requirements for size properties. JavaScript automatically converts the number to a string when concatenating it with another string.
#3 – By using the clientHeight and clientWidth properties
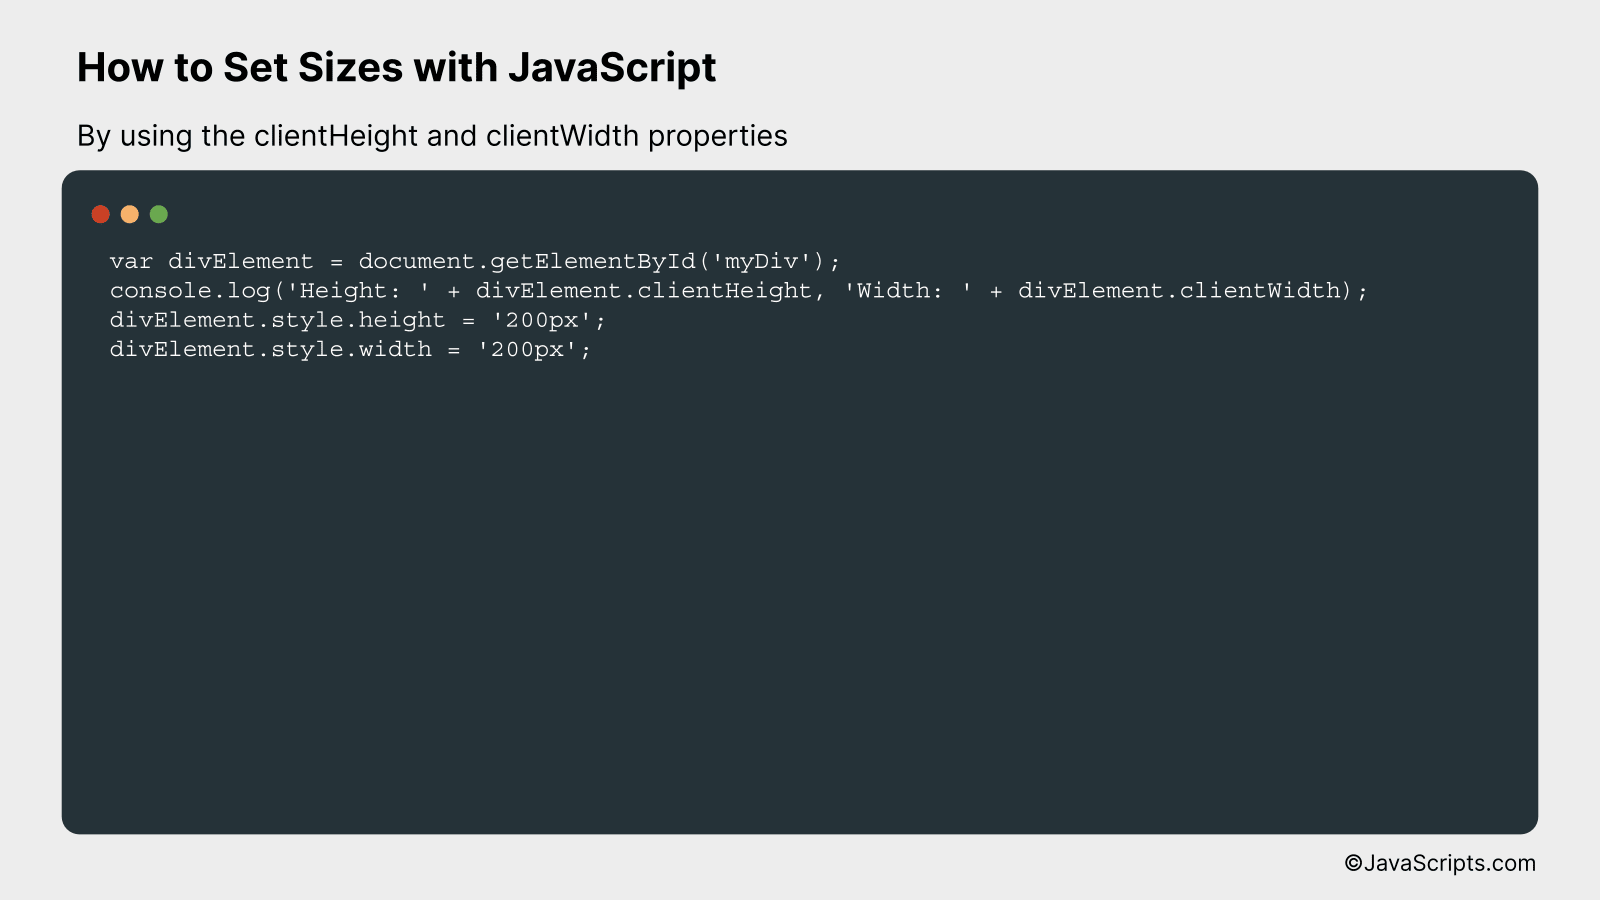
The clientHeight and clientWidth properties in JavaScript allow us to dynamically obtain and manipulate the height and width of an HTML element. Let’s take an example where we want to change the size of a div element.
var divElement = document.getElementById('myDiv');
console.log('Height: ' + divElement.clientHeight, 'Width: ' + divElement.clientWidth);
divElement.style.height = '200px';
divElement.style.width = '200px';
How it works
The above code first selects an HTML div element using its id, then logs the current height and width of the selected element, and finally sets the height and width of the div element to 200px each.
- The variable divElement is assigned to the HTML div element with the id ‘myDiv’ using the document.getElementById() function. This allows us to interact with this specific element using JavaScript.
- We use the console.log() function to output the current height and width of the div element, by accessing the clientHeight and clientWidth properties of the divElement variable.
- Finally, we change the size of the div element by setting the style.height and style.width properties of divElement to ‘200px’ each.
Related:
- How to Replace All Spaces in JavaScript
- How to Print DIVs with JavaScript
- How to Perform Reverse Shell in JavaScript
In conclusion, setting sizes with JavaScript is an essential tool that can be easily mastered with a bit of practice. It plays a crucial role in enhancing the user interface and overall functionality of web pages.
Remember, while setting sizes, always keep user comfort in mind. With these tips, you are now equipped to create a more dynamic and interactive web experience. Happy coding!